
Start with access
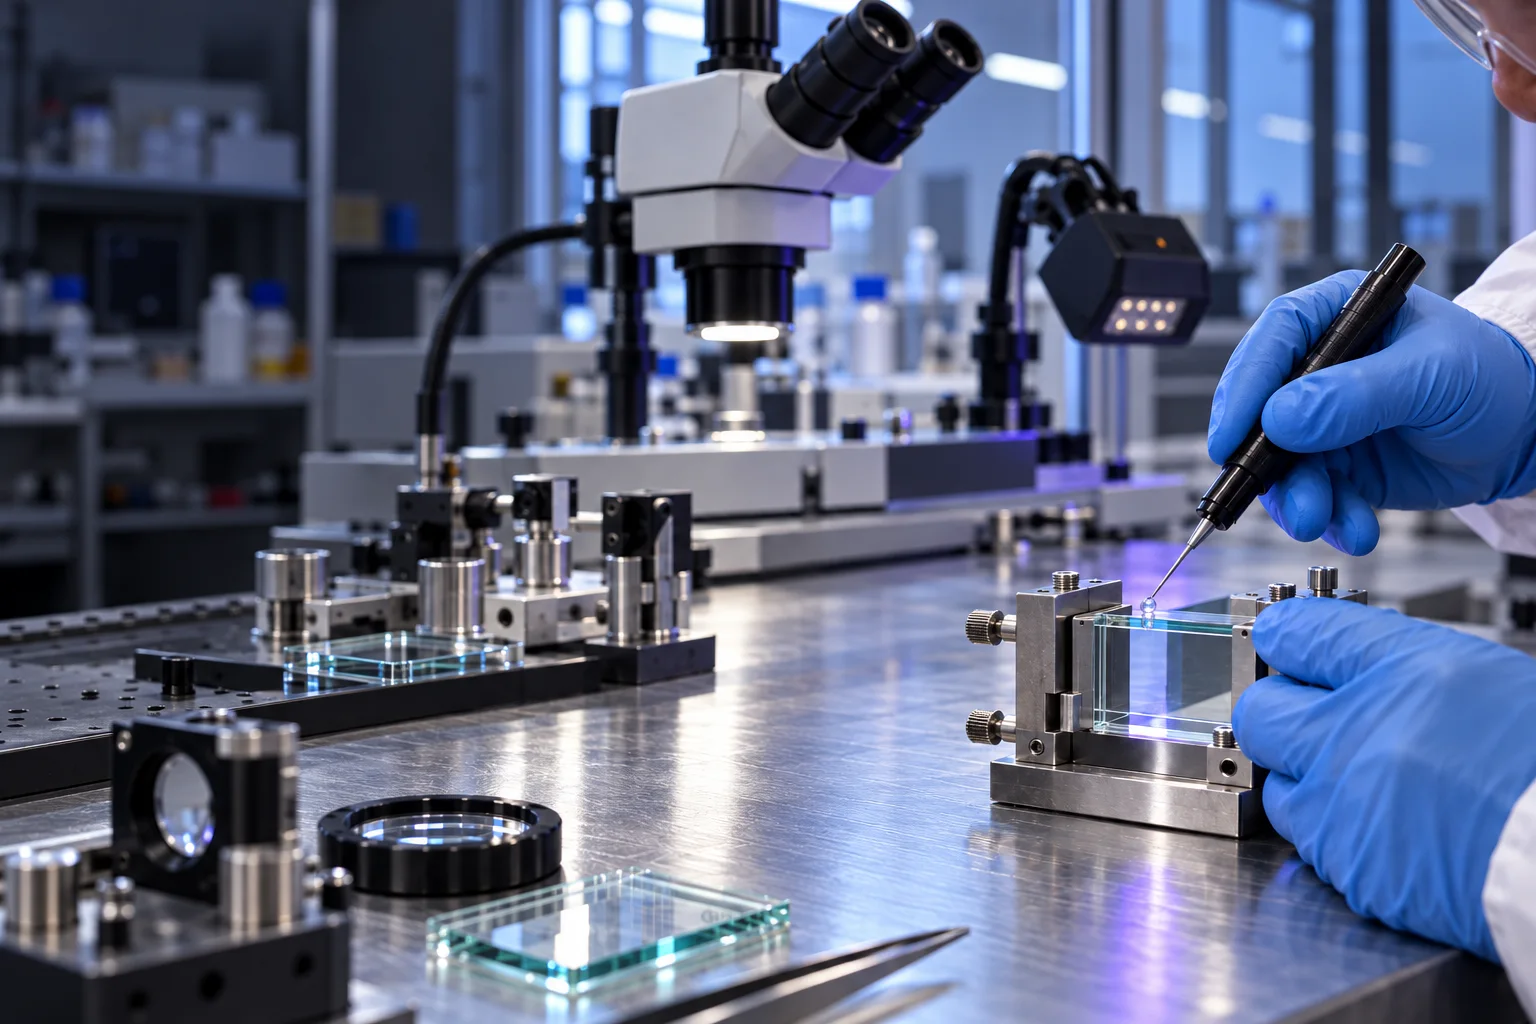
Light must reach the adhesive through an appropriate path. Shadowed areas and opaque materials can prevent a light-only process from curing the entire bond.
Check substrate transmission
Visible transparency does not automatically establish transmission at the curing wavelength. Confirm the actual material and coating with the intended light source.
Match the source to the grade
Wavelength, irradiance at the bond and exposure time work together. Use the adhesive’s current technical data and the light-source specifications to establish process trials.
Control the production variables
Distance, alignment, lamp condition, part position and adhesive thickness can change the delivered exposure. Build these into the work instruction and validation plan.
Confirm the finished assembly
Evaluate cure, adhesion, appearance and any optical or environmental requirements on representative parts. Specialist applications need their own qualification evidence.
TAKE IT INTO YOUR PROCESS
Selecting the adhesive and designing the light-curing process are one connected task.
Build an application briefGeneral application guidance. Follow the current grade-specific technical and safety data sheets, and validate the finished assembly.